Easify V4 is no longer supported and has been superseded by Easify V5.
Installing an additional Easify Server
This guide shows you how to install the Easify Server software.
You might choose to do this if you want to install the Easify Server without a client, or if you already have an Easify Server installed and you want to create an additional company for Easify.
You can also install an additional server if you want to have a separate Easify database to use for training purposes. By having an additional Easify Server
you can have one Server for your live company data, and another Server that you use purely for training new users or for practicing using Easify
without fear of affecting your actual live data. You would need a separate
To install Easify you will need to obtain a copy of the Easify Installer which can be downloaded from our website.
Choose the Easify Full Installer to download.
we also recommend that you temporarily disable your anti-virus software during the installation process to prevent it interfering with the Easify Installer.
The easiest place to save your Easify download to is your desktop...
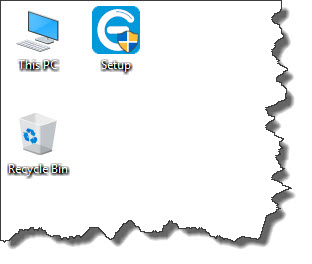
Double click the Setup shortcut to start Easify installation.
Depending on the operating system that you are installing on (in this help guide we are using Windows 10), you may be prompted by Windows User Account Control to confirm that you want to run Easify Setup.
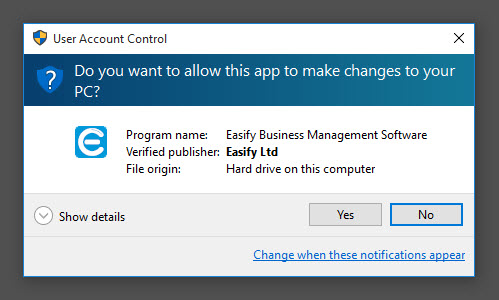
Click the Yes button to authorise Easify Setup to run.
After a short while, Easify Setup will display the following window...
Easify Setup will then carry out some checks on your system to make sure that Easify can be successfully installed.
It is possible that Easify Setup will need to install the correct version of the Microsoft .Net Framework if it is not already installed. If the correct version of .Net Framework is not already installed, Easify Setup will install it for you.
Installing the .Net Framework may take some time, so be sure to wait until it has been installed.
When your system has been prepared for Easify Installation you will see the following window.
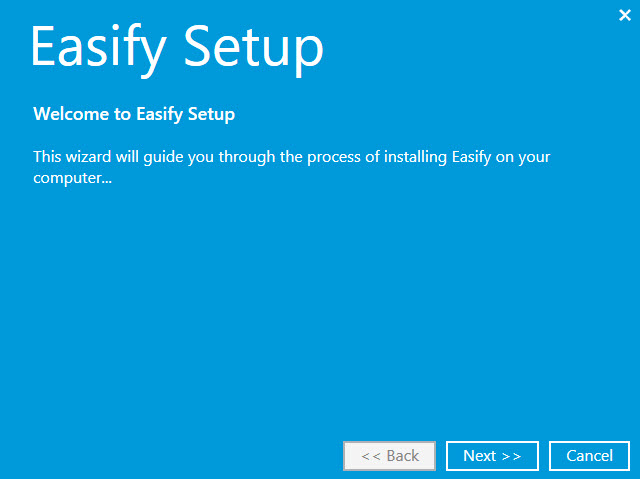
Click the Next button to continue the installation...
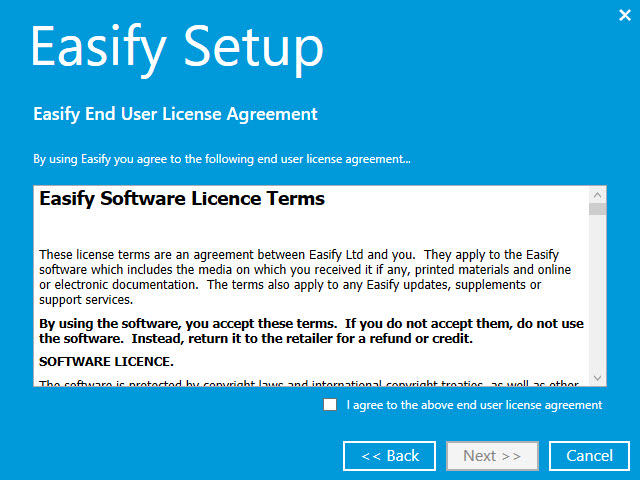
When you have read and agreed to the End User License Agreement, tick the checkbox and click the Next button to continue...
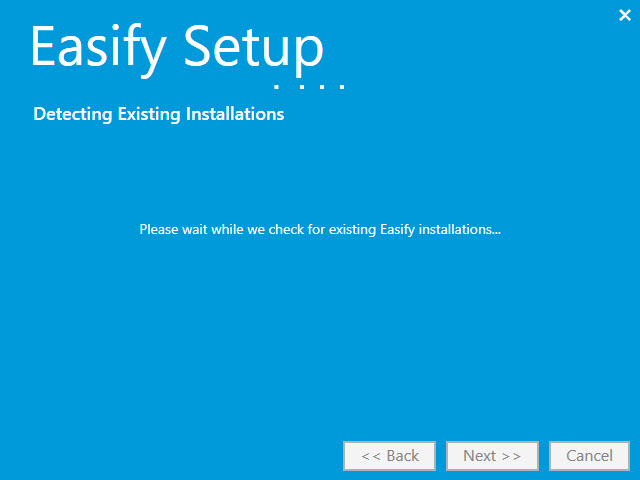
Easify Setup will then check your computer for any existing Easify installations.
At this stage one of two things will happen, either Easify Setup will not find any existing Easify installations on your computer (which would be the case if you were installing just the Easify Server on a new computer), in which case you can skip the next step and go straight to choosing an installation type. Or Easify Setup will find an existing installation and will prompt you as to what to do...
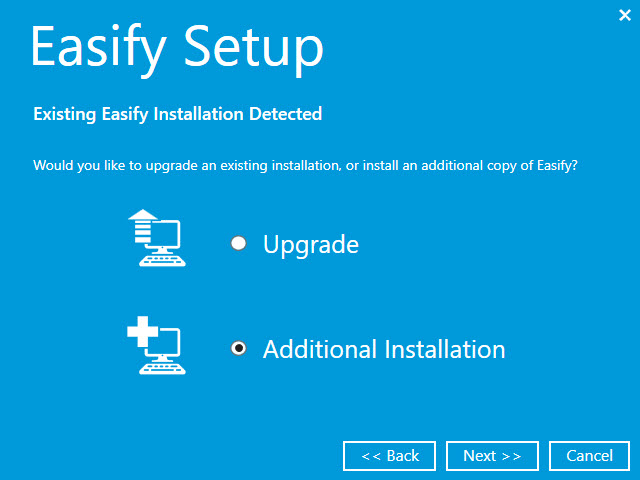
Because we want to install an additional Easify Server, we choose the option to carry out an Additional Installation.
Click the Next button to continue.
You will now be prompted to choose an installation type. Because we only want to install the Easify Server software we select the Easify Server (new company) option.
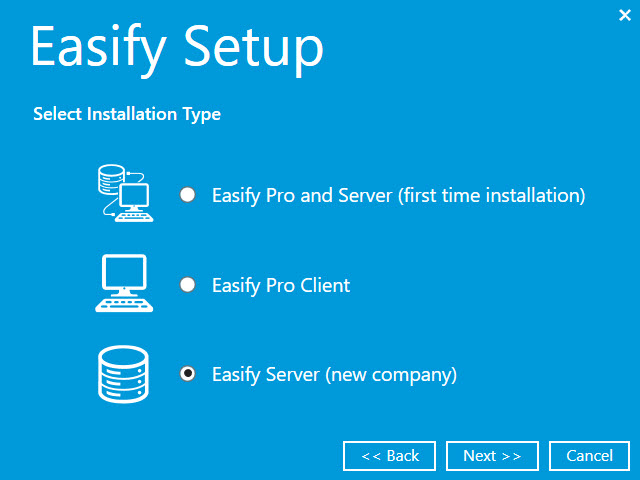
Click the Next button to continue.
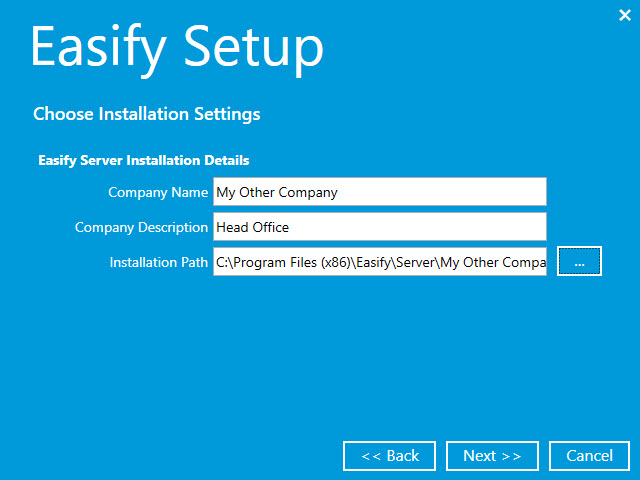
For this demonstration we have specified our company name as "My Other Company" and the company description as "Head Office".
Naturally your company name will be different to this, we recommend that you use your full company trading name i.e. "Fred Bloggs Ltd" as it would appear on your official documents.
You will be required to enter a company description, this is mainly used for Easify users that have multiple offices or branches. If your business only has a single location you can enter something like "Head Office", or the town where you are based. The company description is only used internally by the Easify application to help you identify the company that you are connecting to.
However for an advanced installation you can change the path to suit your requirements.
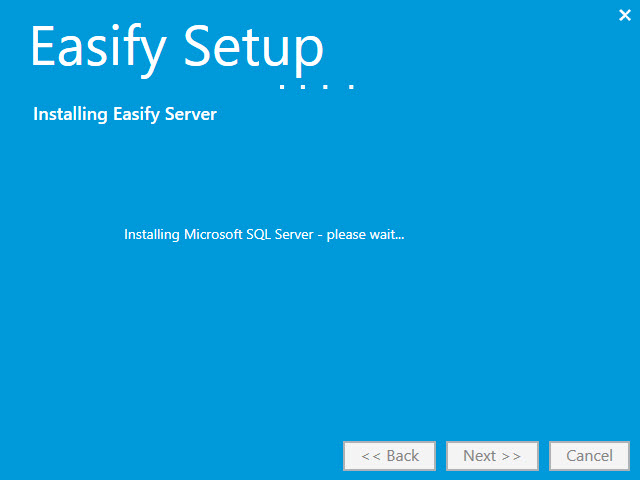
Click the Next button to begin the installation process.
For a first time installation Easify Setup will need to install Microsoft SQL Server. This may take from 20 seconds to several minutes depending on the speed of your computer.
When setup is complete you will see the final page of the wizard.
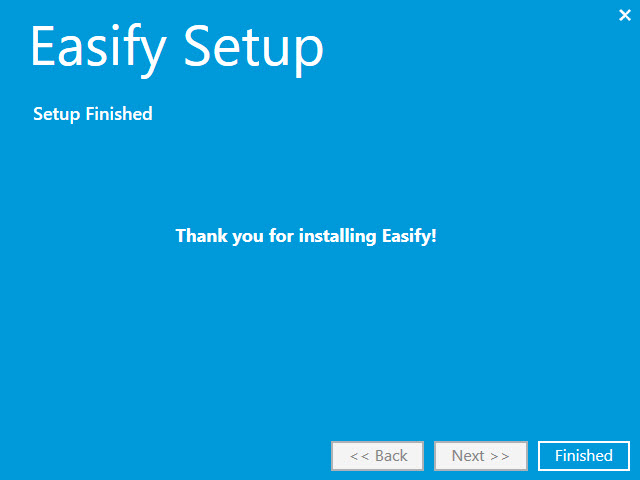
You will find a shortcut on your desktop to the Easify Server Manager (if it wasn't already installed).
Your additional Easify Server has now been installed and is ready to be discovered by your Easify Pro Clients.
