Easify V4 is no longer supported and has been superseded by Easify V5.
Product HTML Editor
Overview
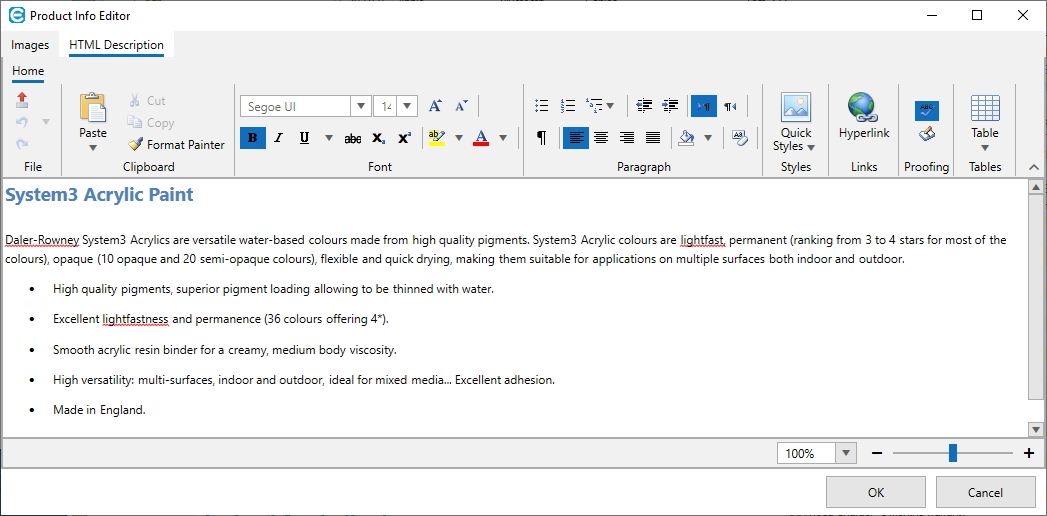
The Product HTML Editor enables you to add and edit richly formatted text descriptions to your products.
If you have Easify linked to your eCommerce website, the HTML description you enter here can be automatically uploaded to your website when you add a new product to Easify.
The HTML Info Editor behaves in much the same way as a typical Word Processing application. You enter text much the same way you would if you were writing a document, and format the text as desired using the tools and buttons on the toolbar.
A couple of points before we continue...
Also be aware that the new HTML editor has two ways of generating HTML which can be set via the font styling settings of the Product HTML Editor in Easify Options .
- Inline HTML Styles.
- Styling applied by external CSS (default setting - how the HTML editor always used to work).
Inline HTML Styles
Inline HTML Styles will force the product HTML editor to store styles such as font size inline in the HTML.
When Use inline HTML styles in product info editor is ticked, the Font and Paragraph toolbar sections of the Product HTML editor will contain additional features that can be used if inline styles are available.
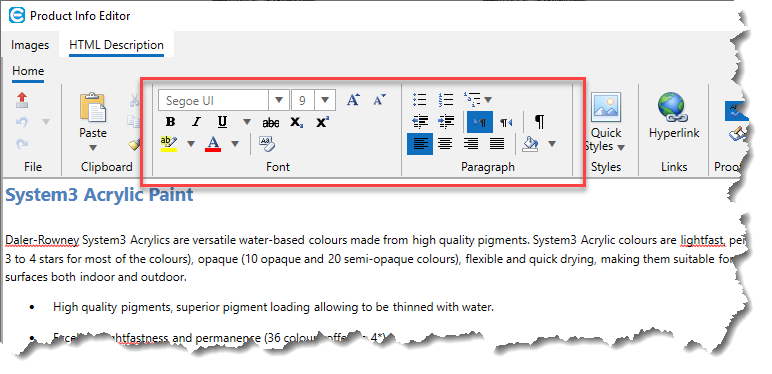
The additional font features include being able to specify any font face and size, font colour, highlight, strikethrough and background colour. And for paragraphs you have the ability to specify indent level, text justification (left, centre, right, justified) and background colour.
Although using Inline HTML Styles will give you more ability to style the product info in the HTML Editor, we would only recommend using inline HTML styles if you never intend to upload product HTML info to a website, and will only be using it to display on the screen in Easify Pro, or to print information sheets or product flyers from Easify Pro.
CSS Style Sheets
When you use Styling applied by external CSS, no styling information will be embedded in the HTML. The HTML will be saved as clean HTML and the styling will be taken from the CSS of your website. This is what you will generally want if you are uploading products from Easify to your website.
In this mode, the Font and Paragraph toolbar sections of the Product HTML editor will contain a cut down set of features that are supported when styling information is provided by CSS style sheets.
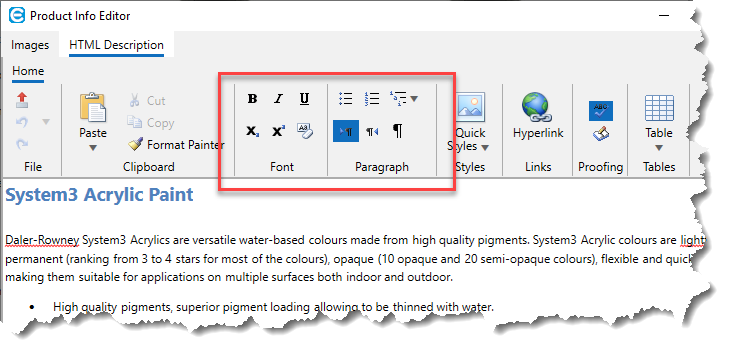
Examples of HTML Editor features that are not available when using CSS Style Sheets are things like the setting of font face and font size, as these will be controlled by the CSS of your website. So although it may appear that you have less control over the formatting of your HTML, with CSS you actually have almost the same level of control over formatting, but with much greater flexibility.
Using the HTML Info Editor
To use the HTML editor, simply type in the product description and format it to look how you want using the formatting tools in the toolbar.
You can also copy product information from a web page or other source, and paste it into the HTML editor.
When you are done, click the OK button, and your changes will be applied to the product.
Pasting Content
As mentioned previously, you can copy and paste content into the HTML Editor from a web page, email or other document.
You can paste content into the HTML Editor by placing the cursor into the editor and pressing Ctrl-V on the keyboard, or you can right click in the editor and select Paste.
You can also paste text into the editor via the Paste button.

The paste button gives you four ways to paste in text:
- Keep Source Formatting.
- Keep Text Only.
- Merge Formatting.
- Use Destination Styles.
The outcome of using the first, third and fourth options will vary depending on what type of content you have copied, and which mode of operation the HTML Editor is using (font styling enabled or disabled). So with these pasting options you will need to experiment to see which one gives you the desired results.
The second type of paste (Keep Text Only) is very useful as it allows you to remove any formatting that might be present in the copied content, enabling you to re-apply the formatting as you desire.
Another formatting option you have after pasting in content is to clear the formatting from a selected portion of content.
Select a portion of content that you want to remove formatting from, and click the Clear All Formatting button.
This will remove any formatting from the selected content, allowing you to re-apply formatting as you wish.
Hyperlinks
To create a hyperlink in the editor, select the text that you want to turn into a hyperlink and click the Hyperlink button.
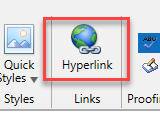
In the Hyperlink Editor enter the Address or URL that you want the hyperlink to point to and click OK.

Similarly, to edit an existing Hyperlink, select it in the editor and click the Hyperlink button.
Quick Styles
As previously mentioned, for eCommerce we recommend using Styling applied by external CSS, and use Quick Styles to format your product descriptions.

With Styling applied by external CSS, any inline styling that is present in the underlying HTML will be removed when you click the OK button to apply your changes. And the only formatting remaining in the HTML will be standard HTML tags such as <H1>, <H2>, <P> etc...
This means that the HTML generated here can be fully styled by the CSS on your website, and the product descriptions will adopt the look and feel of your website no matter how they look in the Easify HTML Editor.
Quick Styles such as Heading 1, Heading 2 etc... will be rendered as <H1>, <H2> etc...
The Normal quick style will be rendered as <P>.
Exporting HTML
You can export contents of the HTML Editor to a HTML file by clicking the Export as HTML button.

When you click the Export as HTML button, you will be prompted as to where you want to save the file.
