Easify V4 is no longer supported and has been superseded by Easify V5.

Installing a Zebra GK420d Thermal Label Printer
Once the printer is setup and ready to plug in to the computer, find the setup CD labelled Software and Documentation for Desktop Printers , put the CD into the computers CD drive and wait for the following screen to appear:

Click on Run RunCD.exe and the following screen will appear:
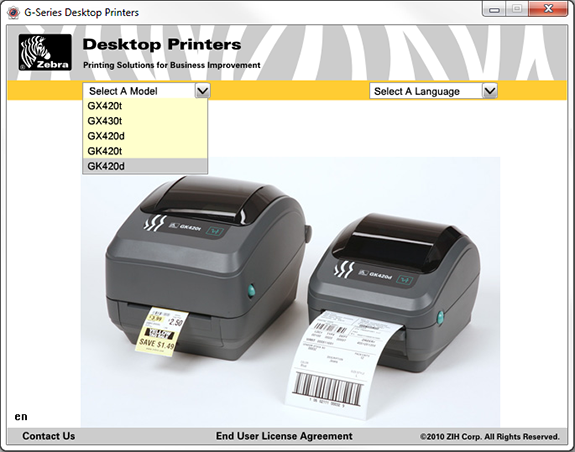
Select GK420d from the Select A Model from the left drop down list.

On the next screen select Run Zebra Setup Utilities:

On the next screen select USB (Universal Serial Bus) and then click Next.

Next you will be presented with a screen telling you to plug the printer into your computer.

Plug the printer into your computer and wait for Windows to say it has installed the hardware:
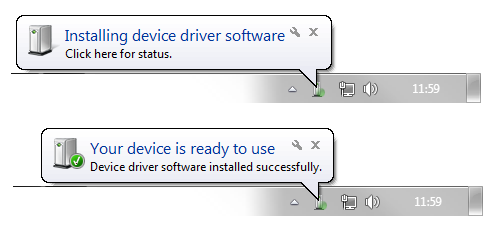
Once you see Your device is ready to use click Finish.
On the next screen click Configure Printer Settings.


On this screen set Width to 50 and Height to 25, then click Finish.

Close the Zebra Setup Utilities window by clicking the Close button.
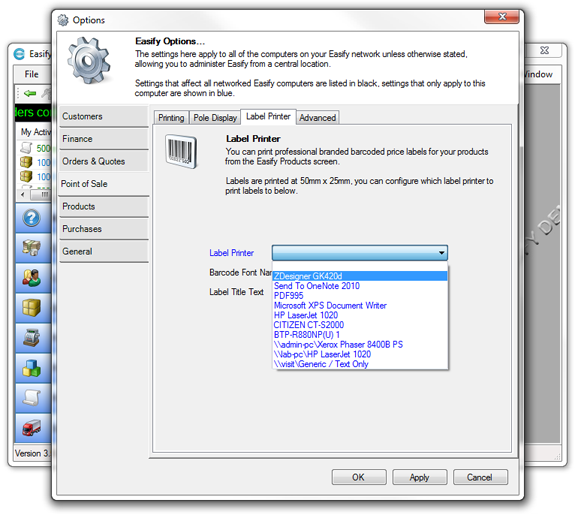
The printer has now been setup for use with Easify, so in Easify go to Tools > Options.

Then go to the Point of Sale > Label Printer section then select ZDesigner GK420d from the Label Printer drop down menu.
Click OK and save the changes.
You have now setup the label printer.
About Easify
Easify is a software package for Windows that helps you to run your small business.
It includes all the tools you need to run your small business - everything from EPOS and stock control to invoicing and VAT returns.
Click here for an overview of Easify.
