Installing Easify - On the Cloud
Please note: These instructions relate to the Cloud version of Easify (not the on-premises version).
(If you are using the On-Premises version, you can follow the instructions here.)
With Easify Cloud all your data is stored on the Microsoft Azure Cloud. This means that you only have to install the Easify Pro Client onto your PC or laptop.
You can install the Easify Pro Client onto as many PCs or laptops as you wish and log into Easify using your subscription details. You can only be logged in from one computer at a time, so if you are already logged in elsewhere, Easify will automatically log you out of the first computer and allow you to log in on another.
As long as you have an active Internet connection you can access Easify from any computer, making it ideal if you work from home, out on the road or have several offices.
The Easify Pro Client installer can be downloaded from our website. Make sure you choose the Easify Pro Client Installer (and not the full installer).
Once downloaded, you will see the Easify Pro Client installer on your desktop. Double click it to run the installer.

Depending on your PC settings a pop up window might appear asking for your permission to allow the Easify installer to run. Click Yes.
The Easify Pro Client Set up wizard will launch. Click Next to continue.
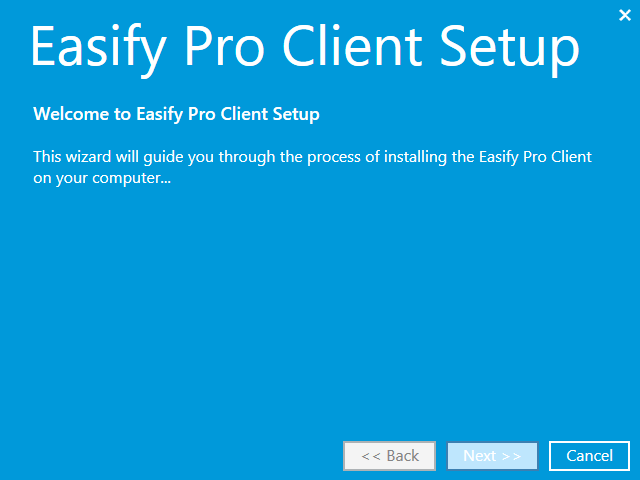
When you have read and agreed to the End User License Agreement, tick the checkbox and click the Next button to continue...
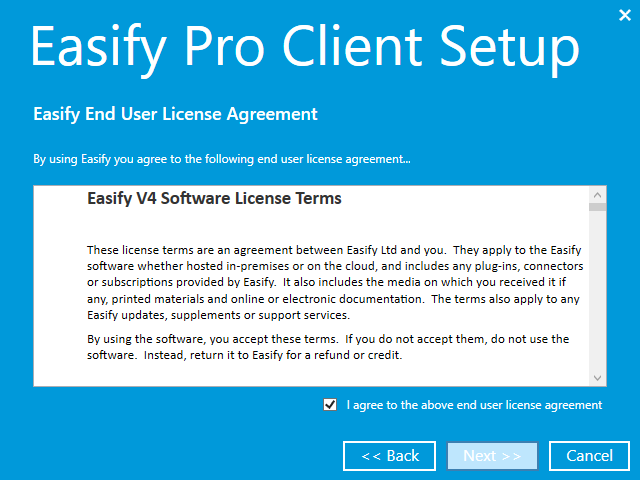
The wizard will ask you to choose where the Easify Pro Client software is installed. We recommend that you choose the default path that has been pre-filled, however you can change it if preferred.
Click Next.
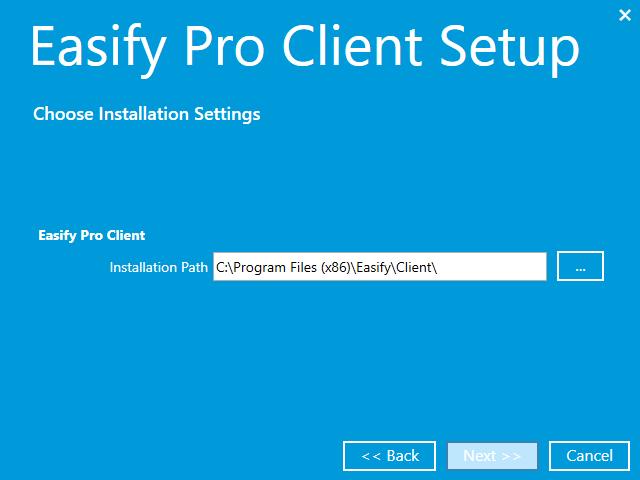
The Easify Pro Client software will be installed on your PC or laptop. This usually only takes a few minutes. Once installed you will see the following...
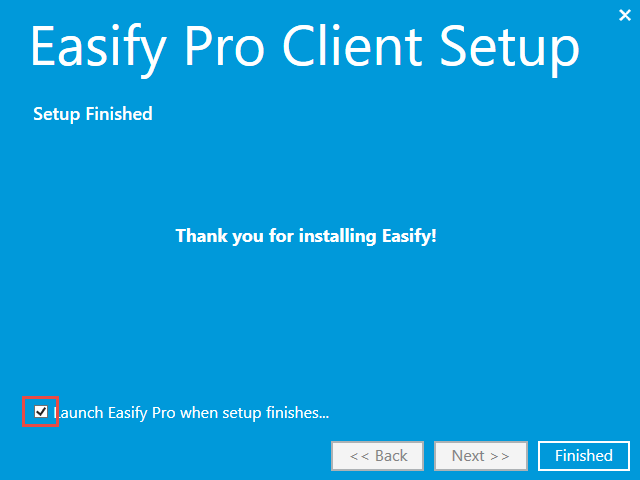
Click on Finished to close the installation wizard.
If the Launch Easify Pro when set up finishes is ticked Easify will automatically launch when you click on Finished.
Launching Easify
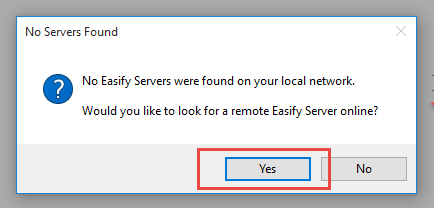
When you launch Easify for the first time, it will ask if you wish to look for remote Easify Servers.
Click Yes:
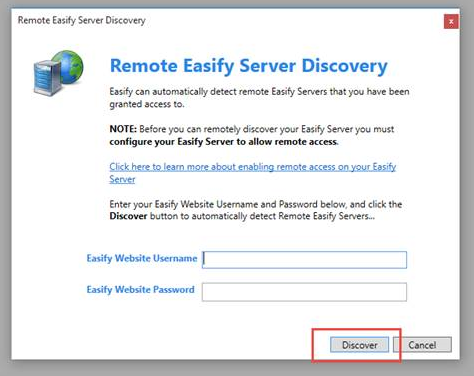
When prompted, enter your Easify Website Username and Password and click Discover:
Easify Connection Manager will then find any Easify servers that you have been assigned to and they will show in the list. Most users will only have one company showing in this list.
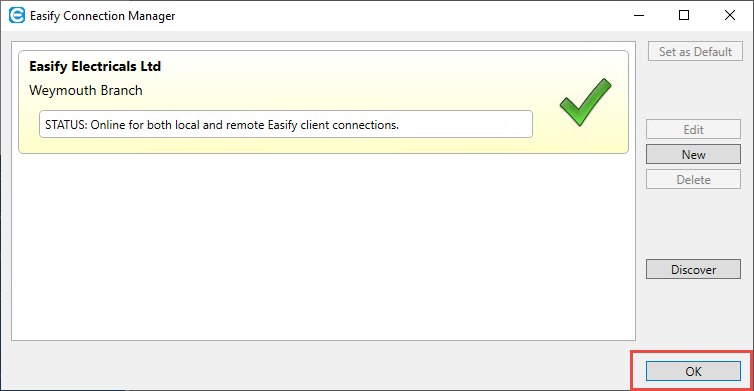
Click OK to close this window.
You should now be ready to log into Easify.
Click here for instructions as to how to log in...
Click here for instructions as to how to get started using Easify.If you're not sure whether you're using Easify Cloud or Easify On-Premises click here for more information about Easify Licensing...

